
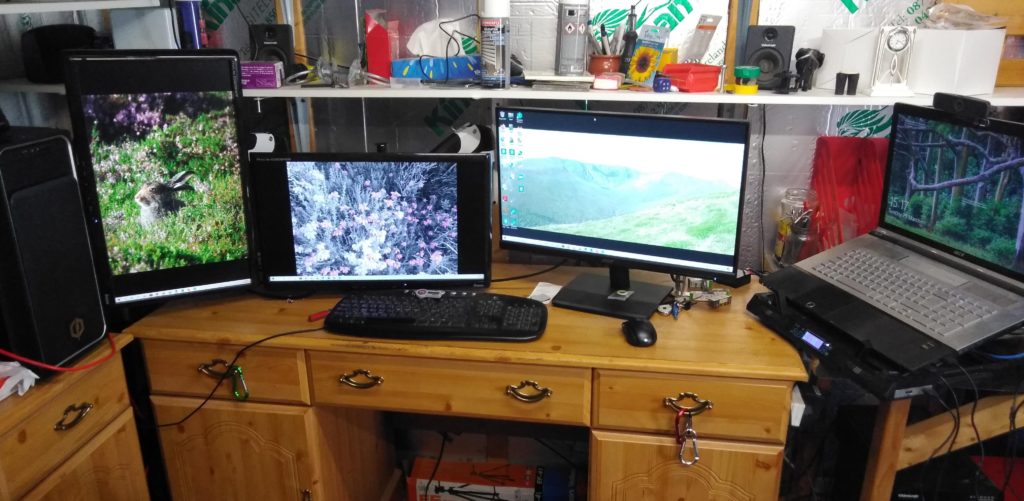
An Honest WFH Experience – the set up
An actual working from home set up! Not some manicured or cleaned up rig. But this is a functional, productive live coding environment.
So the world is in lock down, or at least large parts of it are. Covid-19 has hit and in order to spare a complete meltdown of our health services we are all working from home where possible.
Thankfully developers have the ideal job when required to work from home (WFH). We can do our job from anywhere as long as it has some form of data connection – even that we can do without for a bit!
So getting to the point, what do I do that is different from others? I’m going to break this into two posts.
- My physical set up. (this post)
- My daily routine, with positives and negatives.
Set Up
Firstly, you may be used to having all your IT equipment paid for and purchased for you by your employer, and as such your home set up may only consist of a single laptop.
This will not cut it! From a personal view point, it will frustrate you, it will get you down, it will slow you down. This will ultimately lead you to become unhappy and stressed. Stress does not lead to good code and will lead you down a path to grey hairs and sleepless nights. 😉
Many screens keep context switching simple
Developers can earn a very good wage and purchasing a few screens or a desktop will not break the bank, think of it as an investment in you and your career. If your employer will pay for something then great! Take it, even the smallest of percentage gains in productivity will more than pay off and keep you happy.
If there is one thing that makes you feel good being a developer, it’s completing a task. The more you get done the better you feel.
Ultimately a great, comfortable set up will make you more productive, contented, calm and happier, this is a win for all. The Covid-19 lock down is expected to be months, do you really wish to stare and a small 15″ laptop screen for 3-4 (maybe 8+) months!
I really can’t stress this enough – get yourself more visual real estate.
Software
Microsoft mouse without borders – https://www.microsoft.com/en-us/download/details.aspx?id=35460
This is an brilliant piece of software and free! Sure I’d like it to do a wee bit more, but it’s free. So you’ve got your small laptop, but now taken the plunge to get something to handle a few more screens. Can you use both at the same time without the hassle of two keyboards and two mice? YES.
Install Mouse without borders, now you control both machines (it can do more than two as well) without the clutter. But why should you do that? Does it really gain anything?
Two machines
Main One
My main machine (tower pc) is for code, work, emails and all that involves day to day operations. The reason for this is so I can get a powerful graphic card, get one that will drive 3 or 4 monitors. If I had space I’d have 4, but 3 screens is enough 🙂
The actual tower PC doesn’t need to be a powerhouse machine, especially if you remote into a secure remote desktop, which means your machine doesn’t need to do any real processing. Your circumstances may vary, but in all my years I’ve never ‘needed’ a top of the range machine. I may have wanted it, just because, but never needed it!
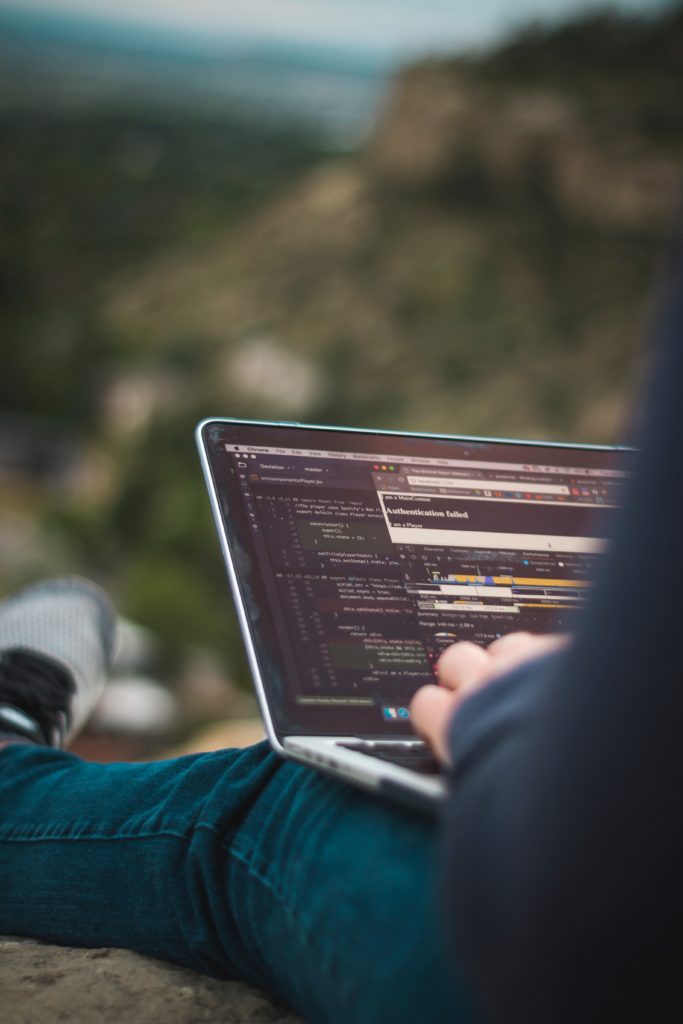
Machine Two
The laptop, and this is key for collaboration. It is used for communication. Being stuck apart from your colleagues is hard, and when you are working on spec’ing out a system or creating new configuration for which you may not have all the required knowledge, then having someone to speak to and bounce ideas off is invaluable.
So start up a Zoom conference call, stay on it all day if needed, keep the face to face open until you solve the issue. You can screen share on your main machine while being able to see and speak on the dedicated communications machine.
Until you reach a situation where this type of communication is required, this may seem like overkill. But once you understand the value of communication, the easier this is and the more human it can become, the more you’ll understand that it is worth every penny. We are beings that like to communicate, yes even developers 😎 Use technology to make this as natural as possible.
Am I at home or my office?
This part is one where it will be very difficult for most to do if you live in a very built up area, but if you can then you should! In terms of mental state, being able to work effectively and the switch off at the end of the day, this one is a HUGE winner.
You need to be able to leave your house!
What? How on earth can I leave my house, I’m in lock down? Well you need another building on your premises. If you have a few spare square meters then you probably have enough room to build a shed. There are plenty of log cabin kits out there, again not very expensive, depending on what you go for.
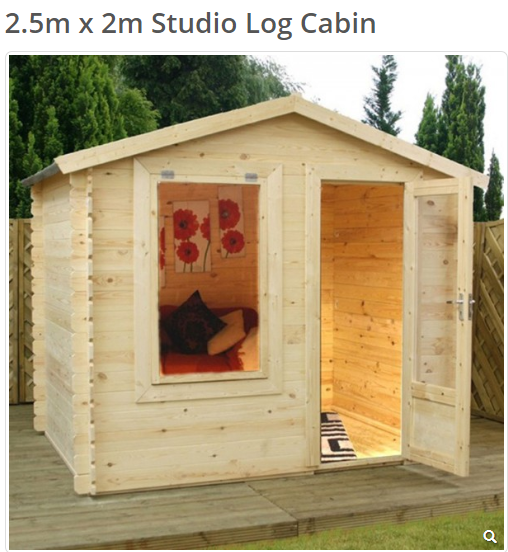
Get one of these set up, get some power and some heat in there, add a bit of insulation and you are good to go!
Is it worth it? 100% it is. You walk out your back door, leave the home behind and you are now at work. The mental separation is so clear, and what’s more – do you have children? Yes, then yes you can close the door, no screaming kids to disturb that all important thought process. What’s more they’ll love it when they can come in.
Then at the end of the day, turn it off, close the door and you are done.
Conclusion
Space and screens
Get those two things right and you will be as productive as being in any office in any part of the world.


.JPG "Library path for adding files to SWC")
.JPG "Adding a SWC to you project")