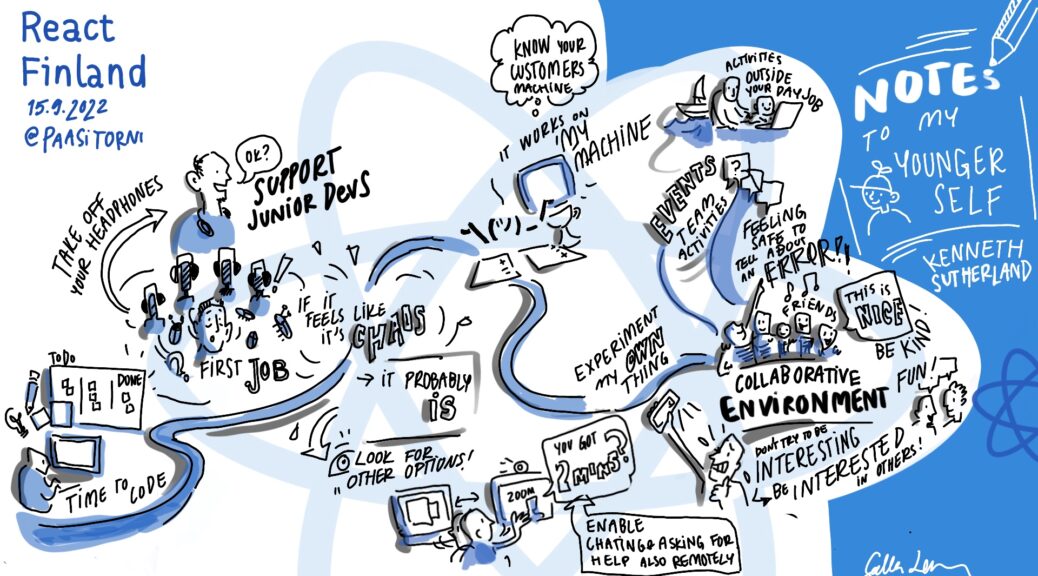
Landing your first job! Notes to my younger self.
First ever conference talk complete! Something that was well worth the effort to create. Anyway I thought it would be great to put down my talk into words. I’ll put a post up per topic that was covered during my talk. I’ve yet to listen to my own talk, although I know I rattled through it faster than I wanted 🙂 So here I’ll expand what was in my head as well as some of the areas that I didn’t have enough time to delve into.
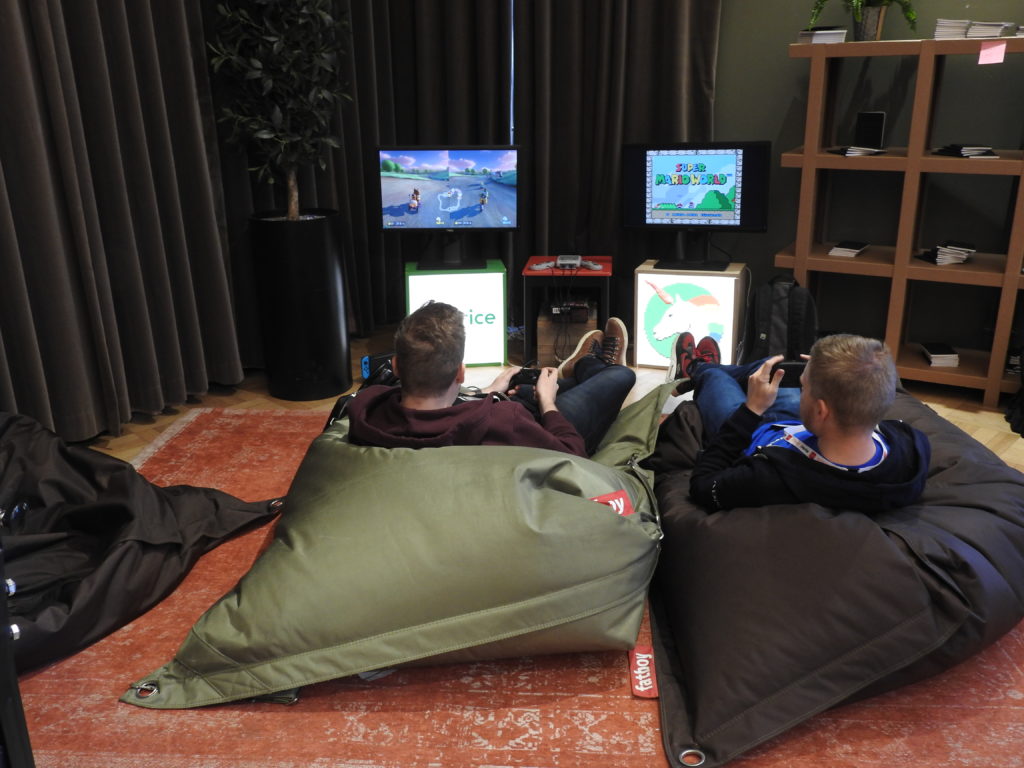
For those that didn’t attend or watch the React JS Finland conference (https://youtu.be/zE8PDM_7xoQ?t=11399) – it was great. Such a warm and welcoming bunch of people. And some of the people there are just amazing and super friendly. Helsinki may not seem like place to go – but I highly recommend it. The developer community feels like it’s really big and cooperative.
Getting started
This was my first point and the main jist of it is – without work experience how to do you get that experience so that someone hires you? This is something I didn’t do before I got a job, although over my early years in various jobs, I did things like this – which seriously helped me get more advanced roles.
Perhaps out of this section, the one thing I didn’t have time to mention was that I’ve seen over the years, that those who while at university (or similar) are able to get some kind of internship or summer time work experience (even if unpaid/helping charities etc) developing software. They are much more likely to be hired first.
While this perhaps seems a little unfair, as many can’t afford to work for free or next to nothing, life isn’t fair. Which is why you need to put the effort into the next part if you didn’t or couldn’t get work experience while learning at the same time.

Motivation & Ideas
Two key things will hold you back, motivation and a good idea. You can look online and I’ve seen so many to-do lists, for example. While these are just fine for a tutorial, they aren’t the kind of thing that will excite you to keep programming for hours and days on end.
Too that end you’ll need to find yourself a good idea. So where to get that from? Well, in the past picking an item from one of your hobbies or interests. You will no doubt find that someone else has created something else that’s very similar, but don’t let that put you off. As you develop YOUR idea, you will end up adding your own twist to it.
Mental rewards
Whiteboard, sticky notes and pens. Why? Some people in the software world don’t do this (not even electronically). These people have been developing for a good while and when you interview them you can tell that what they do isn’t structured/well planned as it could be. Yes it’s not as simple as get a whiteboard, but it’s a mindset and the Jira/whiteboard board needs to be part of it. So what should you do?
Well, you have your idea/subject. It needs broken down into a few big tasks ‘epics’, then each of those needs to be broken down into individual units/stories. Those need prioritised. This is your first business take away. You will learn to prioritise them and now you have a concrete example to talk about in an interview (that bit is super important). When you do work on your tasks, work on them one by one. Only ever do one at a time! If you complete a story and something comes out of it, maybe just a ‘tiny’ task, you think I’ll just stick it onto this task. DON’T! Create a new task and do it right after, but don’t join the two together.
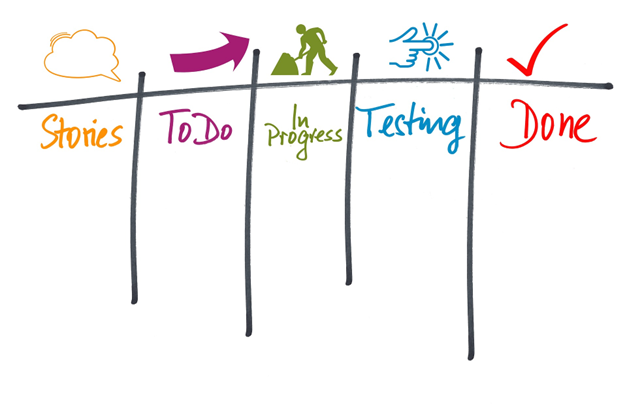
The whiteboard
This is where the whiteboard/sticky notes come in. Put up enough to complete an actionable item/epic. Some of these many be learning tasks (spikes) as well as actual coding tasks. As an example you may need to investigate bundling/build tools. Task 1 could be to find out the top 3-5 tools available. You can have new tasks per tool. You’d create a ticket per tool and that will involve doing a small demo per tool. Finally you’d have a ticket to evaluate each one against the others. So a simple find a suitable build/bundler for your idea may well have 7 unique tasks/stories.
The act of progressing a ticket from ready for work, all the way along to done/released is a concept that although simple will trigger those mental rewards. You’ve done something! Great! The smaller the task the more tasks you can get done. There is nothing more demoralising that being stuck on the same task for days. If this is being done during a few spare hours, the smaller you can make the tasks the more likely you are to complete them. A large task requires much more time to get the task into your head. Sometimes by the time it’s in your head, and you’re flowing, the time is up. Keep them small.
There is a whole heap of knowledge out there on Agile (for example https://www.atatus.com/glossary/agile-methodology/), this post isn’t to teach you that, but to highlight doing it is very rewarding.
Takeaways
- Get an idea for a project from your hobbies/interests.
- Create tasks that are as small as you can make them.
- Only ever do one task at a time.
- Prioritise tasks to get something out/completed.
- Think about why you are doing something. As in why is task A more important than task B.
- You will be learning new techniques, think about how you implement such learnings, how to enhance your learnings.
- Think about your flow, how to you improve it. Did you do anything that suited your style of code/learning.
Coding is as much about the process of writing code, as it about writing the actual code. Can you describe that?